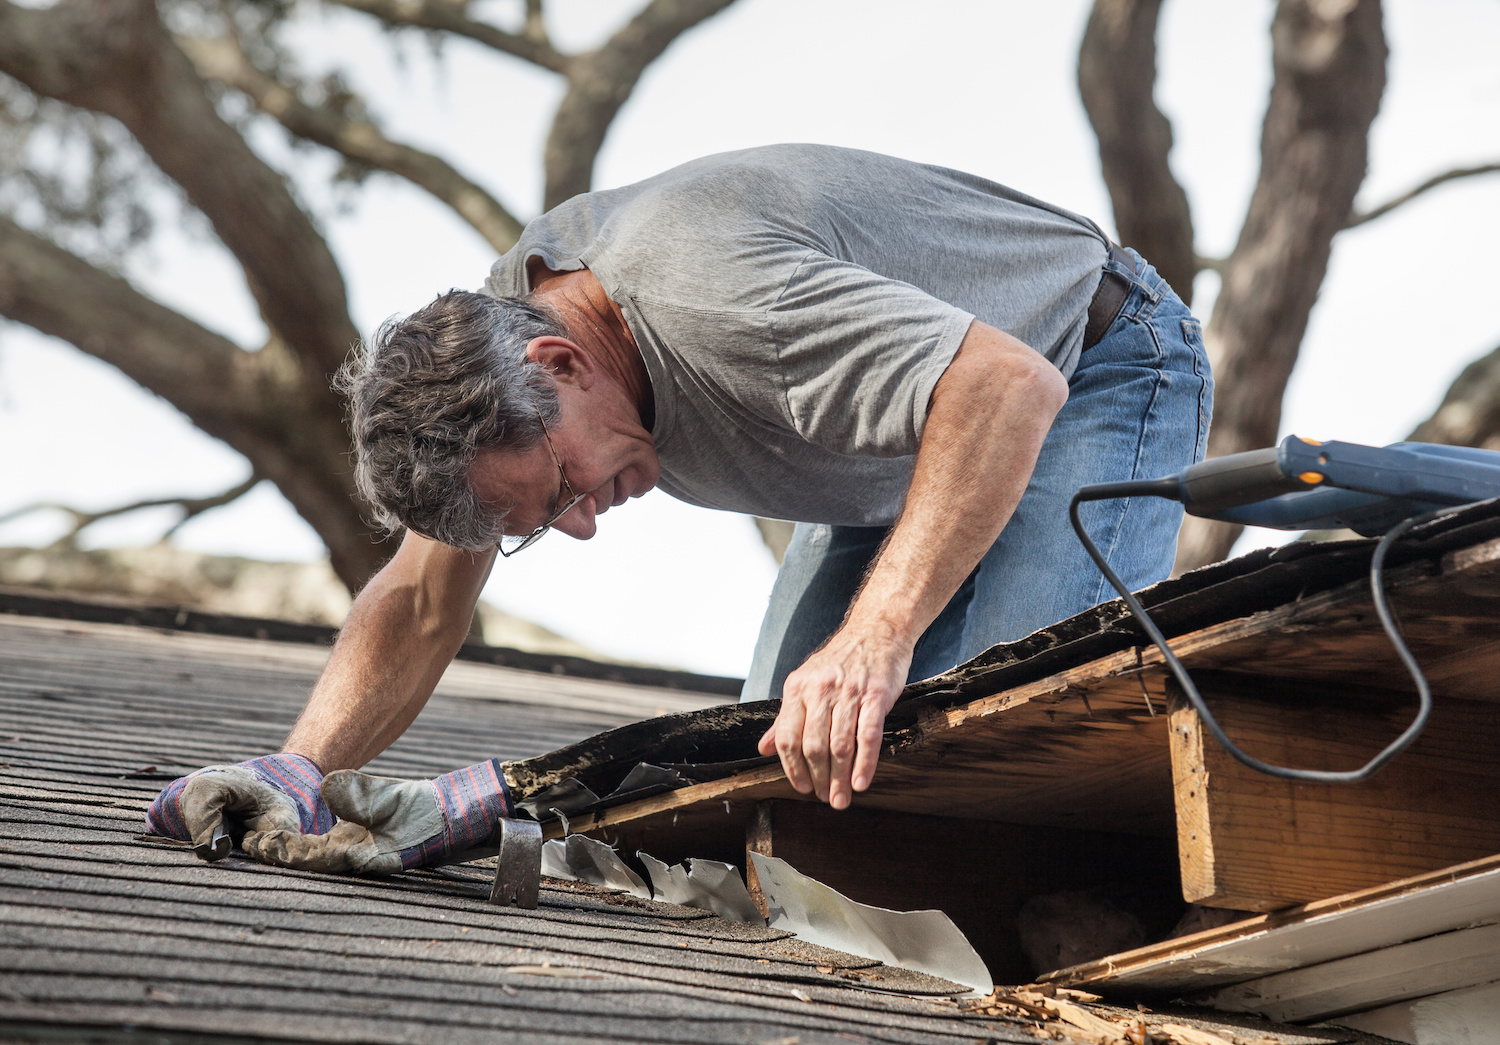
You walk out on a cool November morning, look up, and that little ring around the plumbing vent catches the light. Orange rust on the clamp. Streaks down the shingles. Sometimes you’ll see the rubber boot split, but a lot of the leaks we chase this time of year start with the metal parts, not the rubber.
Along the Gulf, salt air sits on steel all night. Add dew, add wind, and the first real cold fronts. That pipe collar that looked “fine” in August starts weeping at the seam, or the clamp loosens and lifts a hair. Water does not need much. A gap you can’t slide a pencil into can still drip for months and show up as a ceiling stain in the hall (see ceiling stain after a cool night in Texas City, it might not be a roof leak).
If you’ve had a recent storm, that rust is also something you want documented before anybody touches it (start here: what to do after storm damage).
What’s actually rusting up there, and why it fails in November
On most asphalt shingle roofs we see around here, the plumbing vent uses a roof jack, a boot, and a flange that tucks under the shingles. The boot might be EPDM rubber or a neoprene-style sleeve. The part that often gives away trouble first is the metal.
We run into three common setups:
- A galvanized steel base flange with an integral boot.
- A two-piece metal jack where a storm collar clamps around the vent pipe.
- A retrofit collar that tightens with a worm-gear clamp (looks like a big hose clamp).
Gulf air is hard on thin galvanizing. Once the zinc layer is scratched or worn through, rust starts at fastener heads, the clamp screw, and the folded edge of the flange. November is when small defects show themselves because the roof is cycling. A sunny afternoon can still warm shingles, then you get a cool night and condensation. That wet-dry pattern drives corrosion and it also works tiny gaps at seams.
Failure modes are plain: clamp corrodes and won’t tighten, storm collar splits at the screw housing, flange rusts through at the uphill edge where water sits longest.
The leak paths are small, and they don’t show up where you think
Homeowners expect a leak to show right under the pipe. That is not how water behaves on a sloped roof.
If the clamp on a storm collar loosens, water can run down the outside of the vent pipe, hit the top of the flashing cone, then sneak under the flange on the uphill side. From there it follows the deck, a rafter, or a nail line until it finds an opening. We’ve opened ceilings where the stain was 6 to 10 feet away from the vent.
The uphill edge is the trouble spot. That’s where wind-driven rain stacks up and where debris can dam water (more on that pattern here: wind-driven rain roof leaks in Texas City TX). On a 4/12 to 6/12 pitch, you can get a steady trickle under the shingle course if the flange is lifted even 1/8 inch or if the fasteners have backed out. If the original installer face-nailed the top corners of the flange and left the nail heads exposed, those heads rust, the washer (if there is one) fails, and the leak starts there.
Another sneaky path is capillary action. If rust roughens the metal seam, water can cling and travel sideways, then drop into a nail hole. It does not take a “big” opening.
What we look for from the ground before anyone climbs a ladder
You can learn a lot without stepping on the roof. That matters in fall, because shingles are cooler in the morning and scuff easier, and wet algae or dew makes the surface slick.
From the yard with binoculars or a phone zoom, we’re looking at specifics:
- Rust streaking below the pipe, especially a narrow orange line that starts at the clamp screw.
- A collar that is no longer sitting flat, you’ll see a shadow line on one side.
- Missing sealant bead at the top of a storm collar (some collars are sealed to the pipe with a polyurethane or butyl sealant).
- Exposed fastener heads on the uphill corners of the flange.
- Shingle distortion around the pipe, a little “pucker” that can mean the flange is lifting.
Inside, check the attic if you can do it safely. Use a bright flashlight. Look for darkened decking around the pipe penetration, rusty nail tips, and wet insulation. A moisture meter reading above 20% in the decking near the penetration is a red flag, even if you don’t see dripping.
If you see active staining after a rain, take a photo that includes something for scale, like a framing member. Date it. That helps later.
When a rusted collar can be repaired, and when it needs replacement
Some problems are serviceable. Some are not. Rust is the deciding factor.
If the flange is solid, the boot is intact, and the issue is a failed seal at the storm collar, we can often clean the pipe, set the collar correctly, and seal it with a roofing-grade sealant that stays flexible. For metal-to-metal seams, we like polyurethane. For some details, butyl tape under a flange edge is the right move, but it depends on the profile and shingle condition.
If the clamp hardware is rusted to the point you can’t turn the screw without stripping it, that collar is done. Same if the flange shows pitting or pinholes. Once you have through-rust, you do not “coat” your way out of it on a roof. Coatings crack, and the first hot day followed by a cool night will show you why.
Replacement means lifting the surrounding shingles, pulling nails, and installing a new flashing that matches the pipe size. Common vent sizes are 3 inch and 4 inch. The new flange needs to be woven back into the shingle courses, with nails placed where they’ll be covered by the next course. If the decking around the hole is soft, we address that before the new flashing goes in (related: does your Texas City roof need new decking too).
How we install pipe flashings so Gulf air doesn’t eat them alive
We cannot change the air here. We can control materials and details.
On replacements, we prefer flashings with thicker metal and better coatings, or a one-piece boot with an EPDM sleeve bonded to a galvanized base. EPDM holds up well to UV and temperature swings. For metal parts, stainless steel fasteners matter. A cheap electro-galvanized nail head will rust fast once the coating is nicked. We use roofing nails that are appropriate for the deck thickness, typically 1 1/4 inch in standard decking, longer if there’s thicker sheathing or an additional layer.
We also pay attention to how the flange sits. The uphill edge gets tight to the deck, no voids, no bent corners. Shingles are lifted with a flat bar, not torn. Any seal strip that’s been disturbed gets re-sealed so the shingle course lays back down.
On storm collars, the collar needs to be snug to the pipe, then sealed at the top edge so water cannot run behind it. That sealant bead is small, clean, and continuous. If the pipe is out-of-round or heavily corroded, we address that too, because you cannot seal to flaky metal.
If a storm was involved, document it before the adjuster visit
If you suspect storm damage, treat the roof like evidence. That sounds dramatic, but it saves arguments.
Start with photos from the ground that show the whole slope and the location of the vent relative to something fixed, like a chimney, a window, or a gable end. Then zoom in on the rusted roof vent flashing Texas City TX homeowners see so often, the clamp, the base flange, and any displaced shingles around it. Take them in good light. A cloudy day is fine. Avoid sunrise glare.
Inside, photograph the attic side of the penetration if you can. Get a shot of the decking, the pipe, and any water marks. If you have a stain on drywall, photograph it dry and then again after the next rain, same angle.
Write down dates. Date of the storm. Date you first saw staining. Date you first noticed rust streaking. If you have gutters, note if they overflowed during the event, because overflow can mimic a roof leak.
Do not smear tar or silicone around the collar “just to get by” before an inspection. That can make it harder to show what failed. If water is actively coming in, call us, we can do a temporary dry-in the right way and document what we touched (good first steps here: roof leak in Texas City after heavy rain, what to do first).
Don’t ignore the vent pipe itself, it can wreck a new flashing
A lot of folks focus on the collar and miss the pipe. The pipe has to be sound where the boot or collar seals.
Older vent stacks can be cast iron. Many are PVC. Cast iron will rust and pit, especially at the roofline where it stays damp. PVC can get chalky and brittle from UV if it’s exposed above the boot, and it can get cracked by an impact.
If the pipe is rusted so badly that the outside flakes off in layers, a new storm collar will not seal long-term. You tighten the clamp, it bites into loose scale, then the scale breaks and the clamp loosens again. Same story if the pipe has a big paint ridge, old mastic, or a dent.
The fix might be as simple as cleaning the sealing area down to solid material. Sometimes it means cutting back and coupling a new section, which has to be done correctly so you keep the plumbing vent function. A vent is not just a hole in the roof, it’s part of the drain system.
We also check the hole size through the decking. If the cutout is oversized, you can get movement that stresses the flashing. A tight, centered penetration is what you want, with the boot sitting square.
Key Takeaways
- Rust usually starts at the clamp screw, storm collar seam, and exposed fastener heads, not in the middle of a shingle field.
- A leak at a vent flashing can show up several feet away inside, water follows decking and framing before it stains drywall.
- Through-rust on a flange or a seized clamp is replacement territory, not a caulk job.
- Good installs use covered nail placement, tight uphill flange contact, and a sealed storm collar top edge.
- For insurance, photos and dates before any sealant or patch work make the claim cleaner.
- A badly pitted cast iron vent or damaged PVC can prevent a new collar from sealing, the pipe condition matters.
Conclusion
A rusty pipe collar is small, but it’s a straight shot into your attic if it lets go during a winter rain. November is a good time to deal with it because you can still work safely on the roof, and you’re heading into the stretch where wet nights and wind-driven rain find every weak spot (worth a look: cold fronts are coming, here’s what to check on your Texas City roof first).
If you can see rust streaking, a crooked collar, or exposed nails around the vent, put eyes on it now. If a storm is part of the story, document first, then let us handle the repair or replacement with the right materials and the right tie-in to the shingles. We’ll tell you what failed, show you the photos, and leave it watertight.
External references that back up a few of the details above: the National Roofing Contractors Association (NRCA) site, OSHA’s ladder safety standard (29 CFR 1926.1053), the NOAA National Hurricane Center, and the International Code Council.