


You can usually tell the week a roof is getting replaced on your street. Dump trailer shows up, a stack of shingles lands in the driveway, and by lunch the old roof is in a pile. Then the part most homeowners do not see starts. The permit gets posted. The inspector comes out. The crew is up there with a nail gun, and somebody down below is listening for the knock at the door.
In Texas City, TX, the stuff that gets flagged is not mysterious, but it is specific. We see final inspections hung up over a missing drip edge, a pipe boot that is the wrong size for a 3 inch vent, or a ridge vent that got blocked by cap shingles. After a Gulf blow, inspectors also pay attention to how the deck is fastened and how the edges are sealed, because that is where wind gets under a roof and starts peeling.
Getting the roof replacement permit moving without stalling the job
A roof replacement permit in Texas City TX is usually straightforward, but the timing can trip people up. The permit needs to be in place before the tear-off starts. If the permit is not issued yet and a storm line is coming, homeowners get tempted to “just get it dried in.” That is when the job turns into a stop and start.
We handle the paperwork early, and we keep the job file clean. That means the address is correct, the scope is clear (full replacement, not “repair”), and the shingle system matches what is going on the roof. If the project includes decking replacement, we note it, because it affects what the inspector expects to see at dry-in.
One practical detail: the permit card needs to be posted where it is visible from the street or at the front entry. Inspectors do not want to hunt for it. If they cannot verify the permit on site, they can mark it as a no-inspection and you are waiting again.
What happens at dry-in versus final, and why it matters
Most re-roofs are looked at in two phases: a dry-in inspection and a final inspection. Dry-in is the “before shingles” stage. The inspector is looking at the deck, the underlayment, and the edge details. Final is after shingles, vents, flashings, and ridge caps are installed.
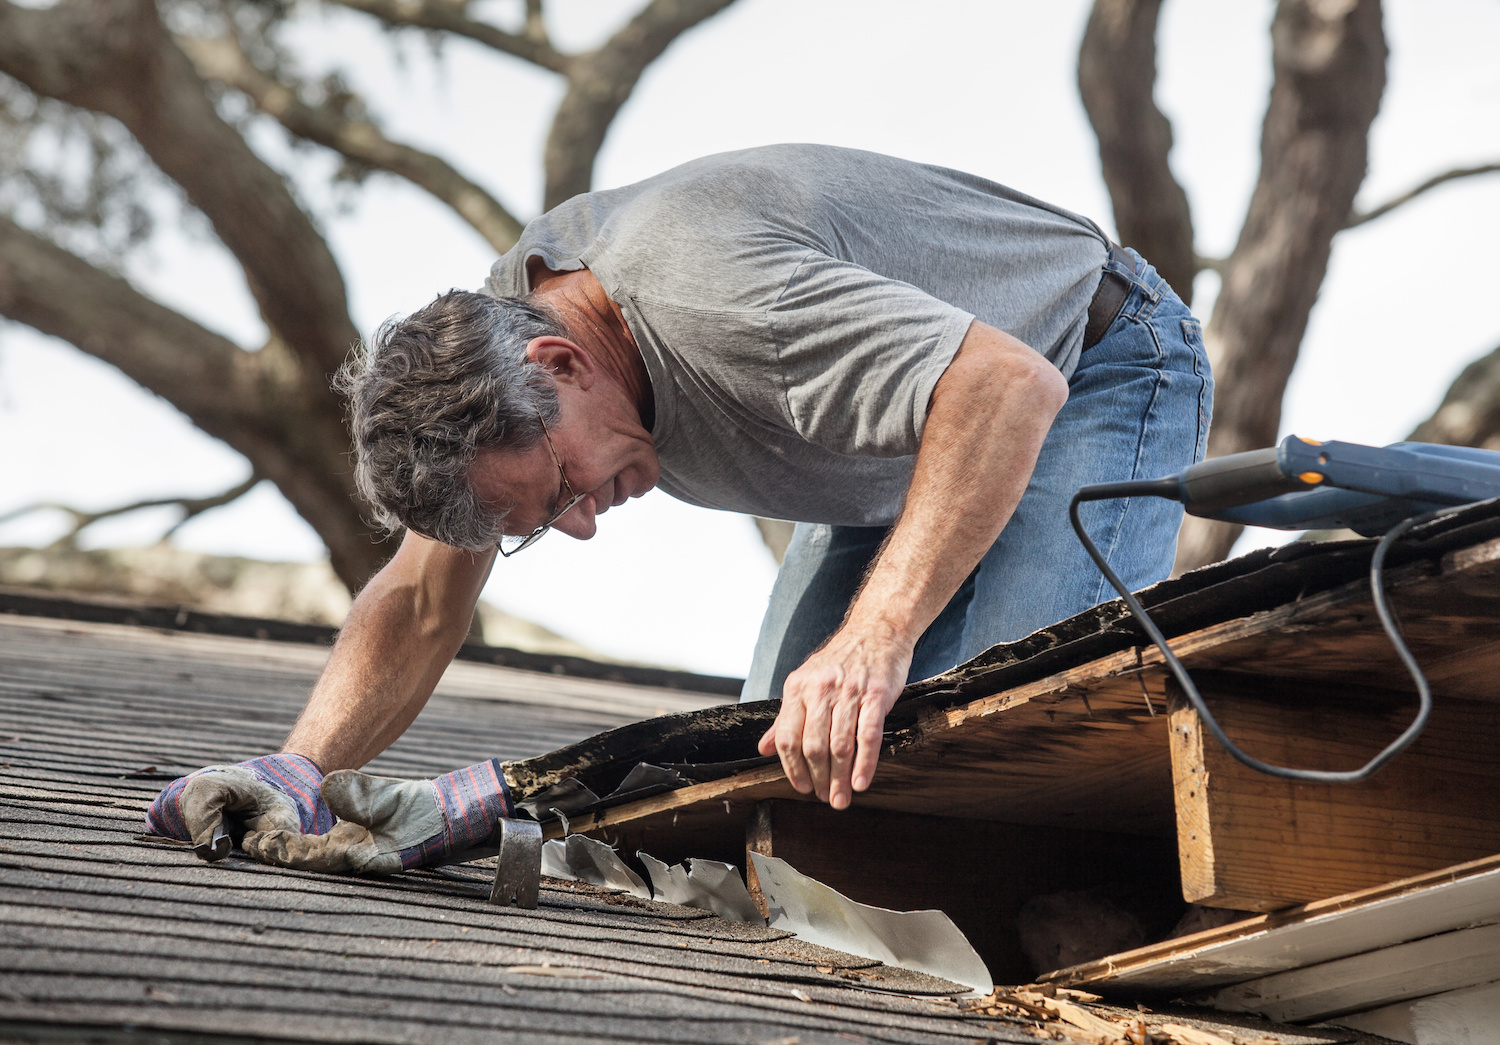
Dry-in is where the big problems show up. Rotten decking gets exposed. Old felt gets stripped and you see gaps, delamination, or soft spots around valleys and plumbing stacks. If we replace decking, we use roof sheathing that matches the existing thickness and spans. Most houses are 7/16 inch or 1/2 inch OSB or plywood. The key is that it lays flat, hits the rafters, and is fastened correctly. (If you are trying to figure out what you are looking at up there, this helps: does your texas city roof need new decking too.)
Final is where details get flagged. A common one is missing drip edge at the eaves or rakes. Another is flashing that is not integrated with the underlayment. If the inspector cannot see clean laps and clean terminations, they will ask for corrections.
Decking attachment and nail patterns inspectors pay attention to
Coastal wind does not start by ripping shingles off the middle of the roof. It starts at the edges, then it finds a weak deck, then it works the fasteners. That is why decking attachment comes up on Texas City re-roofs. (If you are dealing with storm season planning, read protecting roofs against hurricane damage in Texas City.)
If the deck is being replaced, inspectors may look for the fastening schedule. The common expectation is ring-shank nails for sheathing, not smooth shank, because ring-shank resists pull-out when the roof gets pressurized in a storm. Nail length matters too. A 7/16 inch sheet needs a nail that actually penetrates the framing, not one that barely bites.
We also watch spacing. Too wide and the sheet can lift. Too tight and you blow out the edge. The crew sets the nail gun depth so the heads are flush, not overdriven. Overdriven nails cut the wood fibers and the deck loses holding power.
If the existing deck stays, we still check it. You cannot “nail through” a soft deck and expect a wind-rated roof. We walk the field, mark soft spots, and address them before underlayment goes down.
Edge metal, starter course, and why the perimeter gets inspected hard
If you want one place that catches inspectors’ eyes, it is the perimeter. Eaves, rakes, and the first few feet up the roof are where wind gets under and starts lifting.
Drip edge is a big one. We install metal drip edge at the eaves and rakes, and we tie it into the underlayment the way the system calls for. The idea is simple: water has to land on metal and shed into the gutter or off the roof, not behind the fascia. (If you are also sorting out gutters while you are at it, start here: best ways to clean gutters safely.)
Starter course matters too. A proper starter strip seals that first shingle edge. If the starter is missing, backwards, or cut short at the rake, you get tabs that flutter. Flutter turns into creases. Creases turn into blow-offs.
At valleys, we build them to shed fast. That can be a closed-cut valley or a metal valley, depending on the roof and the manufacturer. Either way, the inspector wants to see clean lines, no exposed nail heads in the water path, and underlayment that is lapped correctly.
Flashings and penetrations that commonly fail a final inspection
Final inspection issues are usually about penetrations. Pipes, walls, chimneys, and roof-to-wall transitions are where leaks start, and inspectors know it.
Plumbing vents are the most common. A 3 inch vent needs a boot that fits a 3 inch pipe, not one stretched over it. We use boots with a molded flange, and we seal and fasten them correctly. Nails go where the shingle covers them. Exposed fasteners get sealed.
Step flashing at sidewalls is another. It needs individual pieces woven with each shingle course. One long piece of bent metal is not step flashing. If there is counterflashing at brick, it needs to be cut into the mortar joint or properly terminated, not just smeared with sealant.
Exhaust vents and bathroom fans need the right hood and the right placement. If a vent is too close to a valley or too low on the roof, it becomes a water catcher. We keep penetrations up-slope where possible and we avoid stacking them in the same runoff line. (If you want the why behind that, here is the longer version: why roof ventilation matters for homes in Texas City.)
Underlayment, ice-and-water details, and what “sealed” really means
Underlayment is not there for looks. It is your secondary water barrier. Inspectors will look for the type, the laps, and how it is sealed at edges and penetrations.
On many re-roofs we install a self-adhered membrane in the valleys and at eaves, then a synthetic underlayment in the field. The membrane is the sticky “ice-and-water” style product. Even in warm climates, it is used because valleys and eaves see concentrated water and wind-driven rain. (If you have ever had water pushed uphill in a storm, this is the same problem: wind driven rain roof leaks in Texas City TX.)
Laps matter. Underlayment has to overlap enough that water cannot run uphill under it. Fasteners matter too. Cap nails or cap staples are common because they hold the sheet down without tearing it in a gust.
“Sealed” does not mean a tube of caulk everywhere. It means the layers are shingled correctly, penetrations are flashed, and the underlayment is cut tight and dressed clean. If we have to patch a tear or an overcut, we do it with compatible membrane, not duct tape.
Paperwork, photos, and closing out the permit cleanly
The last step is getting the permit closed. Homeowners feel done when the yard is cleaned up and the magnets are swept. The city feels done when the final passes and the permit is closed in the system.
We keep a photo set on every replacement. Deck condition before underlayment, valley build, drip edge runs, pipe boots, step flashing, ridge vent detail. If an inspector asks what is under a course, photos answer it without tearing anything apart.
If the inspector flags something, we fix it fast and we document the correction. The most common reinspection items are small: a missing gutter apron, a ridge vent end cap left open, a flashing nail that is exposed, or a bath vent hood not sealed to the shingle.
For homeowners, the practical move is to keep your permit number and your final approval. If you sell the house, that paper trail matters. It shows the roof was replaced under permit and inspected, not done as a weekend project. (If you are still in the middle of the storm mess, this is the first-read: what to do after storm damage.)
Key Takeaways
- Dry-in inspection is about decking, underlayment, and edges, final is where flashings and penetrations get scrutinized.
- Deck fastening gets attention in coastal wind areas, ring-shank sheathing nails and correct nail depth help prevent pull-out.
- Drip edge and starter strip are common final flags because wind usually starts lifting at the perimeter.
- Step flashing must be individual pieces woven with each course, not one continuous bent strip.
- Underlayment needs proper laps and cap fasteners, “sealed” means layered correctly, not caulked everywhere.
Conclusion
Permits and inspections are not red tape for the sake of it. They are a second set of eyes on the parts of a roof you will never see again once the shingles go down. On a coastal reroof, the small details decide how the roof behaves in the first hard blow, not the day it looks pretty from the curb.
If you are planning a replacement, ask to see the dry-in stage before it gets covered. Ask where the drip edge ties in and how the valleys are built. We will walk you through it, then we will be ready when the inspector shows up so the job closes out clean and you are not stuck waiting on a reinspection.
References
- National Roofing Contractors Association (NRCA): https://www.nrca.net/
- NOAA page on Gulf storms and wind, for background on the weather that drives local roof loads: https://www.noaa.gov/
- GAF product page for peel-and-stick roof deck protection (the self-adhered membrane used at eaves and valleys): https://www.gaf.com/en-us/roofing-materials/residential-roofing-materials/roof-deck-protection