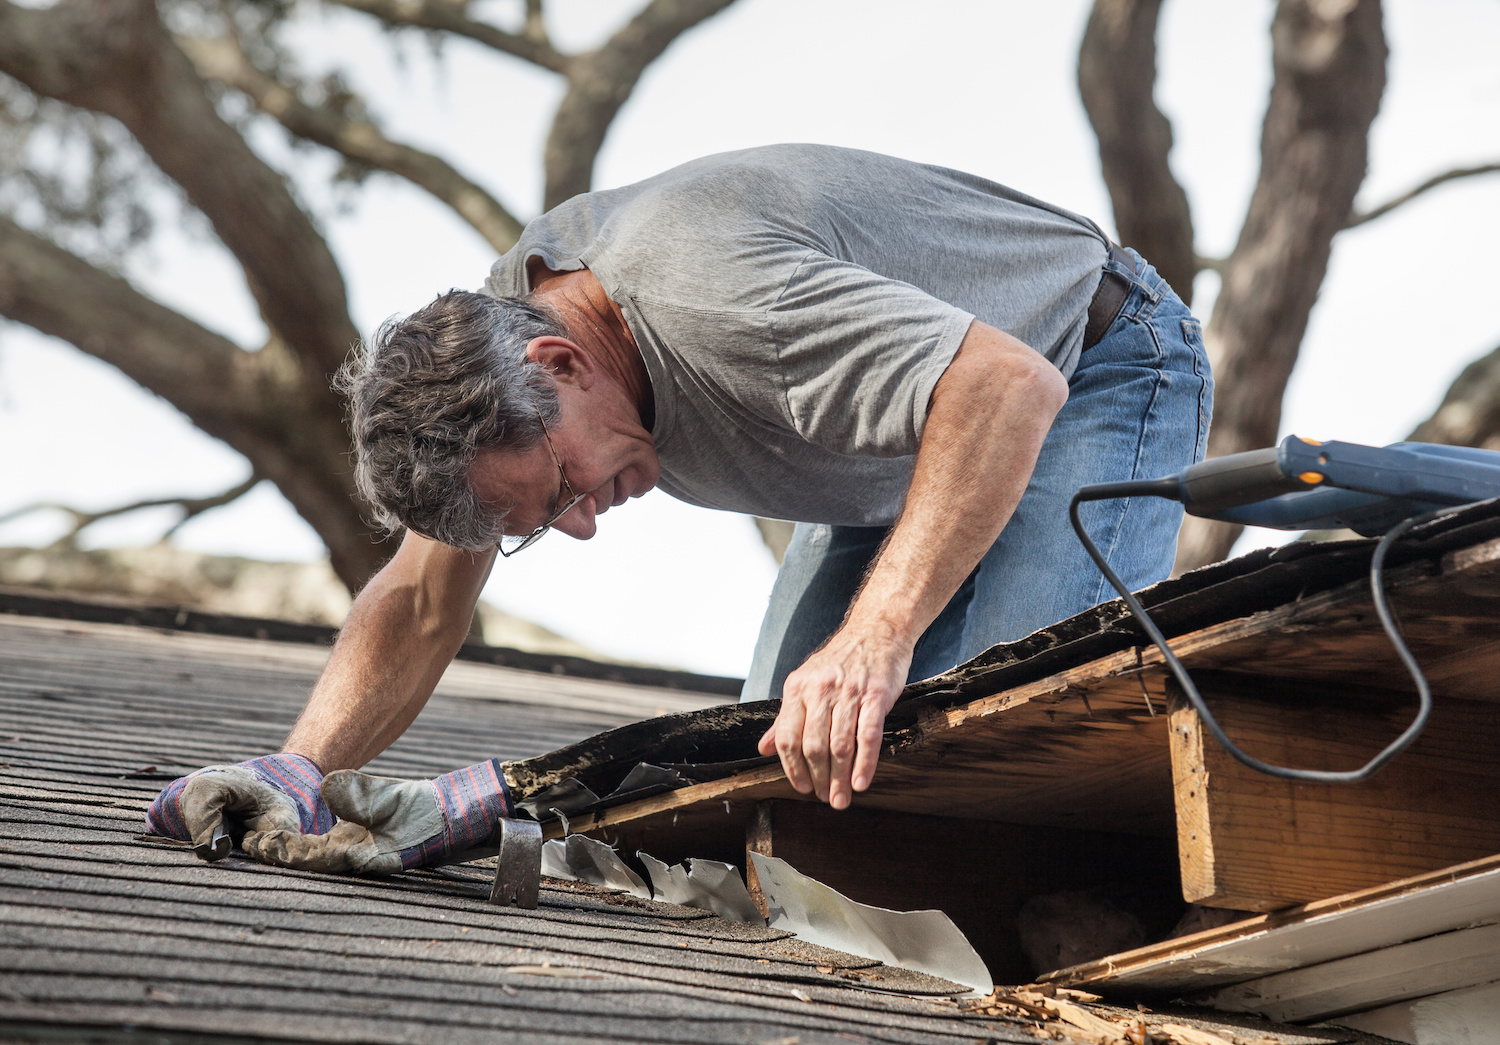

That first run of cool mornings after a long Gulf Coast summer is when we start hearing about “mystery” water spots. You run the shower, nothing. You get a hard rain, nothing. Then one damp morning you notice a brown ring near a bathroom wall, or a drip that shows up and disappears.
A lot of those calls trace back to the plumbing vent pipes that stick through the roof. The rubber collar (the pipe boot) has been cooking in UV since May. It gets stiff. Then a cool snap hits, the roof deck and the pipe move at different rates, and the rubber splits right where it’s been hugging the pipe.
If you can see daylight around a vent pipe from the attic, or you see a boot that looks dry and cracked on the roof, that’s not something to “watch.” A small split will funnel water straight onto decking and insulation.
What a pipe boot does, and why it fails right after the first cool fronts
A plumbing vent boot is a flashing piece built around a vent stack. You usually have a 1.5 inch, 2 inch, or 3 inch PVC pipe coming through the roof. The boot has a metal or plastic base that tucks under the shingles on the upslope side, and a rubber collar that seals tight to the pipe.
After months of sun, that rubber is the weak link. UV exposure and heat make it lose oils, then it turns chalky and stiff. The first real temperature swing in fall is when it shows. The pipe doesn’t move the same way the roof does. The roof sheathing and shingles expand and shrink as the surface temp changes. The PVC pipe is tied into framing and plumbing runs, so it can stay steadier. That mismatch puts a shear load right at the top of the boot where the rubber is thinnest.
Common failure modes we see: a vertical split in the collar, cracking around the lip, or the collar shrinking and pulling away from the pipe by 1/8 inch or more.
Signs your vent boot is leaking, even if you can’t find it from the ground
From the driveway, a vent boot leak can look like nothing. The shingle field can be fine. The leak is small, and it travels.
Inside, the giveaway is location. Water marks show up within a few feet of a bathroom, laundry, or kitchen wall, not always directly under the pipe. In the attic, you might see a dark “track” on the underside of the decking that runs downhill from the vent penetration. On a morning after dew or light rain, the insulation around that area can feel damp while everything else is dry.
On the roof, a failed boot is usually obvious up close. The collar looks sun-baked, with surface checking, or it has a clean split you can catch with a fingertip. Sometimes the boot isn’t cracked yet, but the old sealant around the top has separated and you’ll see a gap you can slide a putty knife into.
One specific we look for: exposed nail heads within 6 inches of the boot base. If those nails lost their seal, you get the same symptoms. (Related: nail pops on Texas City roofs and what they mean.)
Fall temperature swings and UV fatigue: why caulk is not a real fix
A lot of homeowners try to smear roof cement or silicone around the pipe and call it done. It might slow a drip for a while. It also tends to trap water and make the next repair harder.
Here’s what happens in fall. The roof surface might be 85°F in the afternoon sun, then drop into the 50s or 60s overnight. That daily cycle works any sealant. Most general-purpose silicone does not bond well to weathered rubber. Asphalt roof cement can crack as it ages, and it can separate from PVC as the pipe moves.
If the rubber collar is already split, caulk is bridging a gap that keeps opening and closing. It fails at the edge first, then water follows the seam. You also end up with a thick bead that can catch debris, hold moisture, and speed up granule loss on the shingles right below. (If you’re seeing that, read roof granules in your gutters around Texas City.)
The durable fix is replacing the boot or installing a retrofit collar that’s made for vent stacks. That means a new sealing surface, not a patch over a tired one.
What a proper roof pipe boot replacement looks like on an asphalt shingle roof
A roof pipe boot replacement done right is not a “pop it out and slap a new one in” job. The base has to be woven into the shingle system so water naturally sheds.
We loosen the shingles above and beside the boot without tearing the mat. The old boot comes out. Then we inspect the decking around the hole. If the OSB is soft, swollen, or delaminated, you deal with that before you cover it back up. A vent leak that’s been going for a season can rot a ring around the pipe. (More on that here: does your Texas City roof need new decking too.)
The new boot gets set with the upslope flange tucked under the shingle course above, and the side and downslope edges sitting on top of the shingles below, the same way step flashing works. If you want the bigger picture on why this matters, see why Texas City roof leaks start at flashing.
Fasteners matter. We use roofing nails with a wide head, driven flush, not overdriven. Exposed nail heads (only where the system calls for them) get sealed with a compatible roofing sealant.
For roof pipe boot replacement Texas City TX homes, we also pay attention to UV rated materials and proper sizing so the collar grips the pipe tight.
Retrofit boots, storm collars, and other options when the base is still sound
Sometimes the metal base is fine and the shingles around it are in good shape, but the rubber collar is shot. In that case, a retrofit boot can be a clean repair.
There are split retrofit collars designed to wrap around an existing vent pipe without removing the pipe cap. They clamp or zip around the pipe, then seal to the old base. The key is material. A quality retrofit uses EPDM rubber or a high-grade polymer that stays flexible longer in sun. If you see thin neoprene that feels like a bicycle inner tube, it won’t last.
A storm collar is another piece people talk about. That’s a ring that sits above the boot collar and sheds water away from the top seam. On some roof types it’s standard. On shingle roofs, it can help, but it does not fix a cracked boot by itself. It is a supplement.
We decide between full replacement and retrofit based on what we see: condition of the base flange, shingle brittleness, and whether the pipe is centered and plumb. A pipe that’s leaning can keep stressing the collar.
Insurance and storm damage: when a vent boot issue is part of a bigger claim
A split pipe boot from UV and age is maintenance. A boot torn up by wind, hail impacts, or debris is a different conversation.
After a Gulf storm, we see vent pipes take hits from branches or loose items. The boot base can get bent, shingles can crease right at the flange, and nails can back out. Hail can crack some older plastic bases, and it can bruise shingles around the penetration so water gets in at the seams.
If you’re documenting storm damage, take clear photos of the vent area from multiple angles, and get one close shot that shows the condition of the rubber collar. Also look for collateral signs within 10 feet: lifted shingle corners, missing seal strips, or exposed nails. Those details matter when you’re talking to an adjuster.
We handle storm damage inspections and insurance paperwork support, but we keep it straight. If the boot failed because it was already brittle, we’ll tell you. If wind or debris physically damaged it, we’ll document that and tie it to the rest of the roof system. (Related reading: hail damage on a Texas City roof, what counts and what doesn’t and what to do after storm damage.)
What you can check safely now, and what needs a roofer on the roof
You can do a useful check in fall without climbing up there. If you want a broader checklist for the season, start with cold fronts are coming, here’s what to check on your Texas City roof first.
From the attic, use a bright flashlight and look around each vent pipe penetration. You’re looking for dark staining on the decking, rusty nail tips, or damp insulation. If you have an infrared thermometer, a wet area can read cooler than dry wood by a few degrees on a mild morning.
From the ground with binoculars, you can sometimes spot a boot that’s slid down the pipe, leaving the top edge exposed. You can also see obvious cracking if the sun hits it right.
What you should not do: smear roof cement around a pipe from a ladder, or try to pry shingles loose with a putty knife if you’re not set up for roof work. One torn shingle tab becomes a wind problem on the next front.
On our end, we get on the roof with proper fall protection, check every penetration, and check the nearby shingles for seal strip adhesion. In Texas City, TX, that mix of sun and sudden cool mornings is hard on rubber parts. Catching a boot early keeps the leak small and keeps your decking solid.
Key Takeaways
- Vent pipe boots usually fail at the rubber collar first, with vertical splits and shrink-back gaps.
- Fall day to night swings can open a crack that stayed “quiet” through summer heat.
- Caulk over a cracked collar is a short patch, it often separates as the pipe and roof move.
- A proper boot replacement weaves the flange under the upslope shingles and seals only where required.
- Retrofit collars can work if the base and surrounding shingles are still sound and properly seated.
Conclusion
If you’ve got a new ceiling spot this fall, don’t assume it’s a big field leak. Vent boots are small parts, but they sit right where water concentrates, and a pinhole turns into wet decking fast.
Our advice is simple. Check the attic now, before the next run of wet weather and north winds. If you see staining around a vent pipe, or the boot looks cracked and dry from the roof, get it handled while the shingles are still pliable and the damage is still limited.
If you want us to look, we’ll inspect the penetrations, tell you what failed and why, and lay out the right repair, full boot replacement or a retrofit that actually seals.