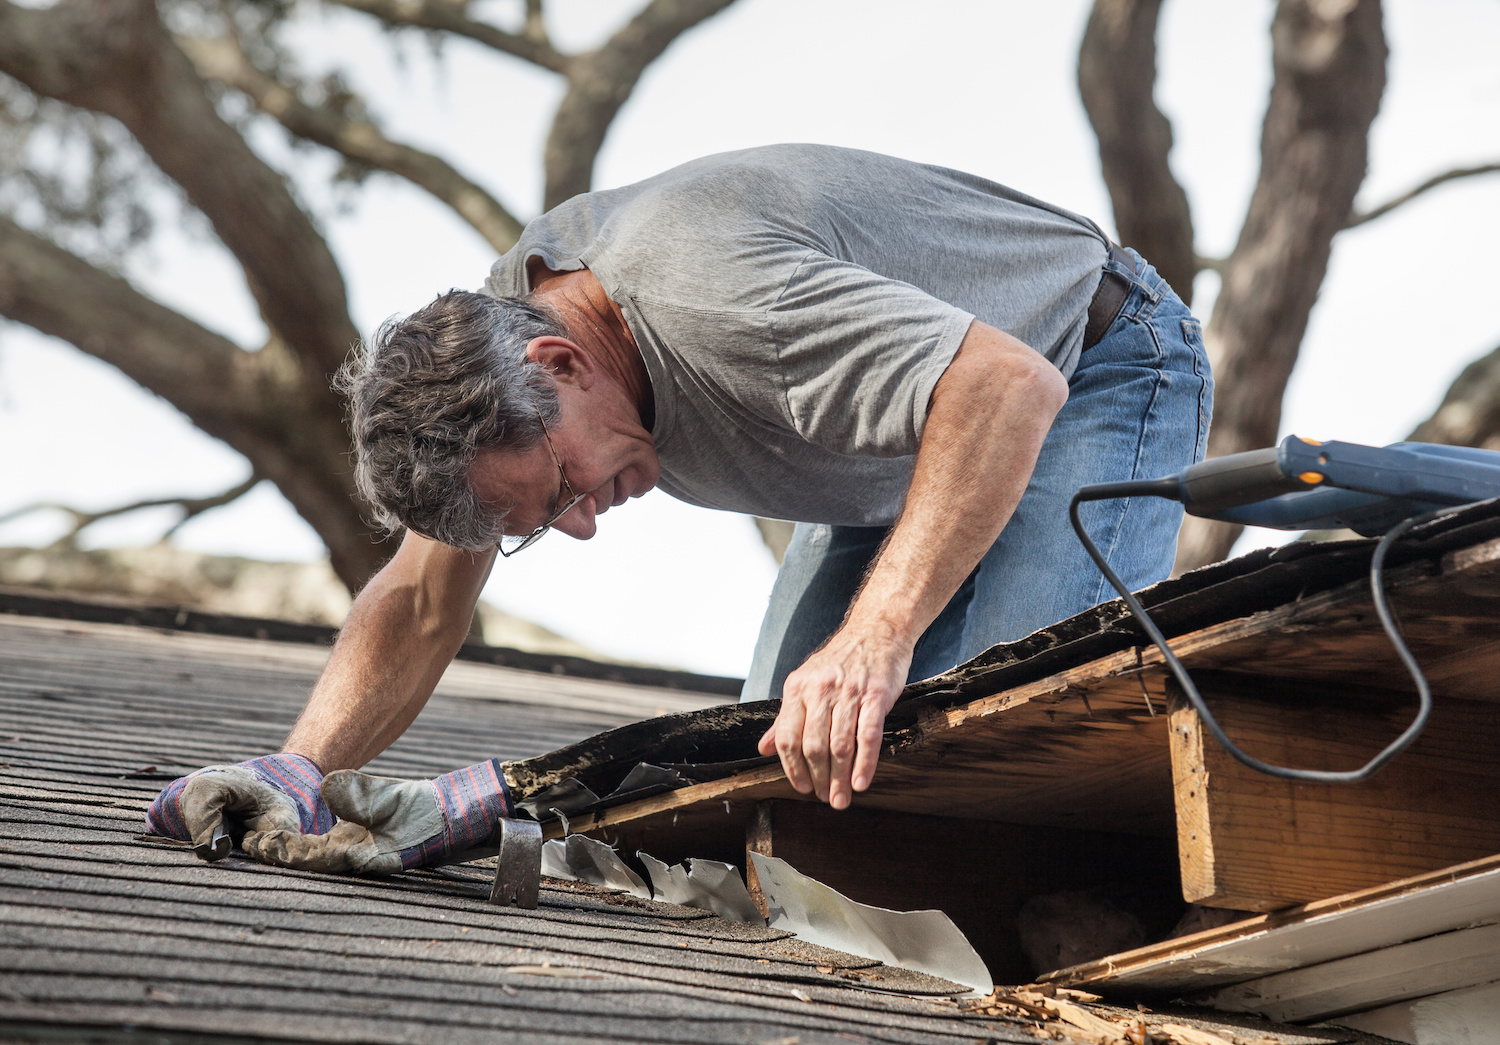

That first fall front hits and you feel it right away. The AC finally gets a break, the wind shifts hard out of the north, and you get one of those quick storm lines that drops a pile of rain in 20 minutes. A lot of roofs in Texas City, TX don’t fail in the field of shingles. They start leaking at the interruptions, pipe boots, wall lines, metal flashing, and anywhere a sealant bead is doing work it shouldn’t have to do.
Summer heat bakes caulk and dries out rubber. Then the temperature swings show up, 90°F afternoons, 60°F nights, and everything on the roof moves a little. Metal expands and contracts. Sealant that was hanging on by a thread lets go. The result is a small stain that appears on a ceiling corner after the first real fall rain.
This Texas City roof inspection checklist is about checking the weak spots first, before they turn into wet drywall.
Start at the plumbing vents: cracked pipe boots and loose clamp rings
Plumbing vent penetrations are one of the first places we see fall leaks start. Most homes have at least one 3 in. PVC vent through the roof, sometimes more. Around that pipe is a flashing boot, usually rubber (EPDM or neoprene) with an aluminum base. After a Gulf Coast summer, the rubber can get brittle and split right where it hugs the pipe.
What to look for is plain.
- Cracks in the rubber collar, especially on the upslope side where water sits during a hard rain.
- A boot that has slid down the pipe. You’ll see a gap at the top edge.
- A loose stainless clamp ring (if the boot uses one). If it spins by hand, it is not doing its job.
Also check the shingles right around the boot. If nails backed out, the base can lift and let water run under it. A proper repair is not smearing roof cement all over it. We either replace the boot or reset it with the right fasteners and a correct seal at the top edge of the collar. If the pipe is cast iron, we check for rust scaling that keeps a boot from sealing tight.
Check step flashing at walls: the leak that shows up as a “window problem”
Any roof that dies into a wall has step flashing. That is the small L shaped pieces of metal that interlace with each shingle course. On asphalt shingles, step flashing is typically 8 in. by 8 in. pieces (or similar), layered so water always has a path back onto the shingle.
In fall, the failure we see is separation. The house cools at night, the wall and roof move differently, and the counterflashing or siding trim that covers the step flashing gap can open up. Then a wind driven rain pushes water right into the joint. (If you want a deeper breakdown of how that happens here, read wind driven rain roof leaks in Texas City, TX.)
A homeowner check is visual and simple.
- Look for siding rot or paint bubbles along the bottom 12 to 24 inches of a wall where it meets the roof.
- Look for gaps at the wall line you can see from the ground, especially at corners.
- Inside, watch for a stain that tracks down beside a window casing. That often points back to a roof to wall flashing issue, not the window.
We also pay attention to metal type. Aluminum step flashing is common, but if it was installed tight to treated wood without separation, you can get corrosion over time. The fix is correct flashing and correct layering, not more caulk on the face.
Inspect chimney and skylight flashing: dried sealant and exposed nail heads
Chimneys and skylights are big, rigid penetrations, and they do not move the same way the roof deck does. That’s why they are so sensitive to fall temperature swings. A masonry chimney should have base flashing, step flashing, and counterflashing cut into the mortar joint (a reglet). A skylight should have a manufacturer flashing kit, not a homemade patchwork.
On the checklist, we focus on two failure modes.
Sealant beads that are doing structural work
If you see a thick bead of sealant bridging a gap between metal and brick, that is a red flag. Sealant is a water shedder, not a flashing system. After months of UV, it shrinks, cracks, and peels.
Exposed fasteners and face nailed metal
Any face nailed flashing with exposed nail heads is a leak waiting for the washer to fail. On roofs that have been “tuned up” over the years, you’ll sometimes find roofing nails driven through the top of flashing and then dabbed with mastic. That dab turns hard, then it breaks.
If the chimney is older, we also look for mortar joints that are open more than 1/8 in. Water gets in, then the first cool nights make it show up fast inside. The right fix is proper flashing details and a sound mortar joint, not a surface smear.
Look at valleys and transitions: where water concentrates and debris hangs up
Valleys are where two roof planes meet and dump a lot of water in one place. Even without talking gutters, valleys deserve their own check because they see the highest flow rate during those fall storm lines. Two common valley builds are a closed cut shingle valley and an open metal valley.
What changes in autumn is debris. A few handfuls of oak leaves or pine needles can sit in the valley and hold water against the shingles. That slows drying time. It also pushes water sideways under the shingle edge during a heavy rain. If you have trees over the roof, this ties right into fall gutter cleanout in Texas City and the roof damage it prevents.
Here’s what to inspect from the ground with binoculars.
- Valley centerline: it should look straight, not wavy. A wavy line can mean the decking edge is soft.
- Granule loss: if the valley looks darker and smoother than the rest of the roof, the shingles are wearing faster there.
- Metal valley edges (if present): look for lifted edges and bent hems.
At transitions, like where a lower roof meets a taller wall, we check for kickout flashing. That is a small diverter at the bottom of a roof to wall intersection that keeps water from running behind siding. It is a small piece of metal, but it prevents big rot. Missing kickout flashing is a common find on older installs.
Examine ridge caps and hip caps: nails that back out after heat cycles
Ridge caps and hip caps live at the highest point of the roof, so they take the most sun, the most wind, and the most movement. After a hot summer, the roof deck and framing have expanded and dried out. As things cool off and tighten up, nails can start to back out. (This is the same pattern we talk about in why Texas City roofs show problems after summer heat.)
A backed out nail under a ridge cap is a leak path because water runs right over that spot. It also becomes a wind issue. If a cap shingle lifts, the next gust can crease it, then you lose a whole run. If you are seeing movement already, this is worth reading: shingles lifting or flapping in Texas City, is it an emergency or can it wait.
Specifics we check:
- Nail placement: on most cap shingles, the nail line is set so the next cap covers it by a few inches. If nails are high, they end up exposed.
- Fastener type: proper roofing nails are galvanized with a wide head. Staples show up on older roofs, and they do not hold the same in wind.
- Cracks in cap shingles: look for straight splits across the cap, often right over the ridge.
If your roof has a ridge vent, we are not getting into ventilation strategy here, but we still check the ridge vent end plugs and the cap coverage. A missing end plug can let driven rain blow in. That’s a small detail that turns into a wet ridge board over time.
Check the attic after the first cold front rain: stains, wet nails, and smell
Exterior checks are good, but fall is a smart time to do one attic look, right after the first hard rain that comes with a cold front. You are looking for active moisture, not old marks from ten years ago. If you already have water showing inside, start here first: roof leak in Texas City after heavy rain, what to do first.
Bring a bright flashlight. Step only on framing members or a catwalk.
Here’s what counts.
- Wet or rusty nail tips on the underside of the roof deck. If nails are shiny in one area and rusty in another, that tells a story.
- Dark staining on plywood seams. Water likes to travel along a seam, then drip off a truss chord.
- Insulation that is matted down. Fiberglass that looks flattened in a patch usually got wet.
- A musty smell that is stronger in one corner. That can point you toward a slow leak around a penetration.
If your decking is 7/16 in. OSB, it will show swelling at the edges sooner than plywood. That swelling looks like a raised lip along a panel seam. Catch it early and you may be dealing with a flashing repair, not a bigger tear off decision. If you are trying to figure out what you have up there, this helps: does your Texas City roof need new decking too.
Document storm-related damage the right way: photos, dates, and clean language for insurance
Fall weather here can bring fast moving storms, and sometimes you don’t know you have damage until you see a shingle tab bent or a seal line broken. If you think a storm did it, document it like you mean it. That helps whether you are filing a claim or just trying to keep your own records straight. For the bigger picture on next steps, see what to do after storm damage.
Keep it simple and checkable.
- Take wide photos of each roof face from the yard, then close ups of specific issues.
- Photograph flashing joints, pipe boots, and any exposed fasteners you can see.
- Write down the date of the storm and what happened (high wind, heavy rain, debris impact). One sentence.
Avoid climbing up there if you are not used to it. A 6/12 pitch roof is steep enough to hurt you fast, and wet shingles are slick. (OSHA’s fall protection page lays out the basics on harnesses, anchors, and safe access if you’re thinking about getting on a roof.)
When we inspect after a storm, we call things what they are. Creased shingles. Lifted tabs. Dented metal edging. Displaced flashing. That kind of language matters if insurance gets involved, because it ties the damage to a failure mode, not a guess. If you are in Texas City, TX and you want us to look, we’ll walk it, photograph it, and show you what we’re seeing before any paperwork starts.
Key Takeaways
- Pipe boots around 3 in. PVC vents crack at the collar first, especially on the upslope side after summer UV.
- Step flashing at roof to wall lines should be layered piece by piece, gaps and face caulk are a common fall leak starter.
- Chimneys need counterflashing set into a mortar joint, a sealant bead alone will split and peel.
- Valleys concentrate water, a small amount of leaf debris can hold moisture and push water sideways under shingles.
- Ridge and hip caps show backed out nails after heat cycles, exposed fasteners up high turn into leaks fast.
- A post rain attic check can spot wet nail tips and stained plywood seams before drywall shows it.
Conclusion
Fall is when little weaknesses quit hiding. The roof moves with the temperature swings, the first strong fronts bring sharp wind and hard rain, and the spots that rely on a tired boot or a shrinking bead of sealant are the ones that let go. If you can only check a few things, start with penetrations and wall flashing, then look in the attic after the first real rain.
If you see cracking rubber, exposed nail heads, or staining that wasn’t there in August, don’t wait for the next line of storms to test it harder. We can inspect, document what’s actually failing, and tell you what’s a repair and what’s pointing toward a full replacement. That is how you stay ahead of it in Texas City, TX.