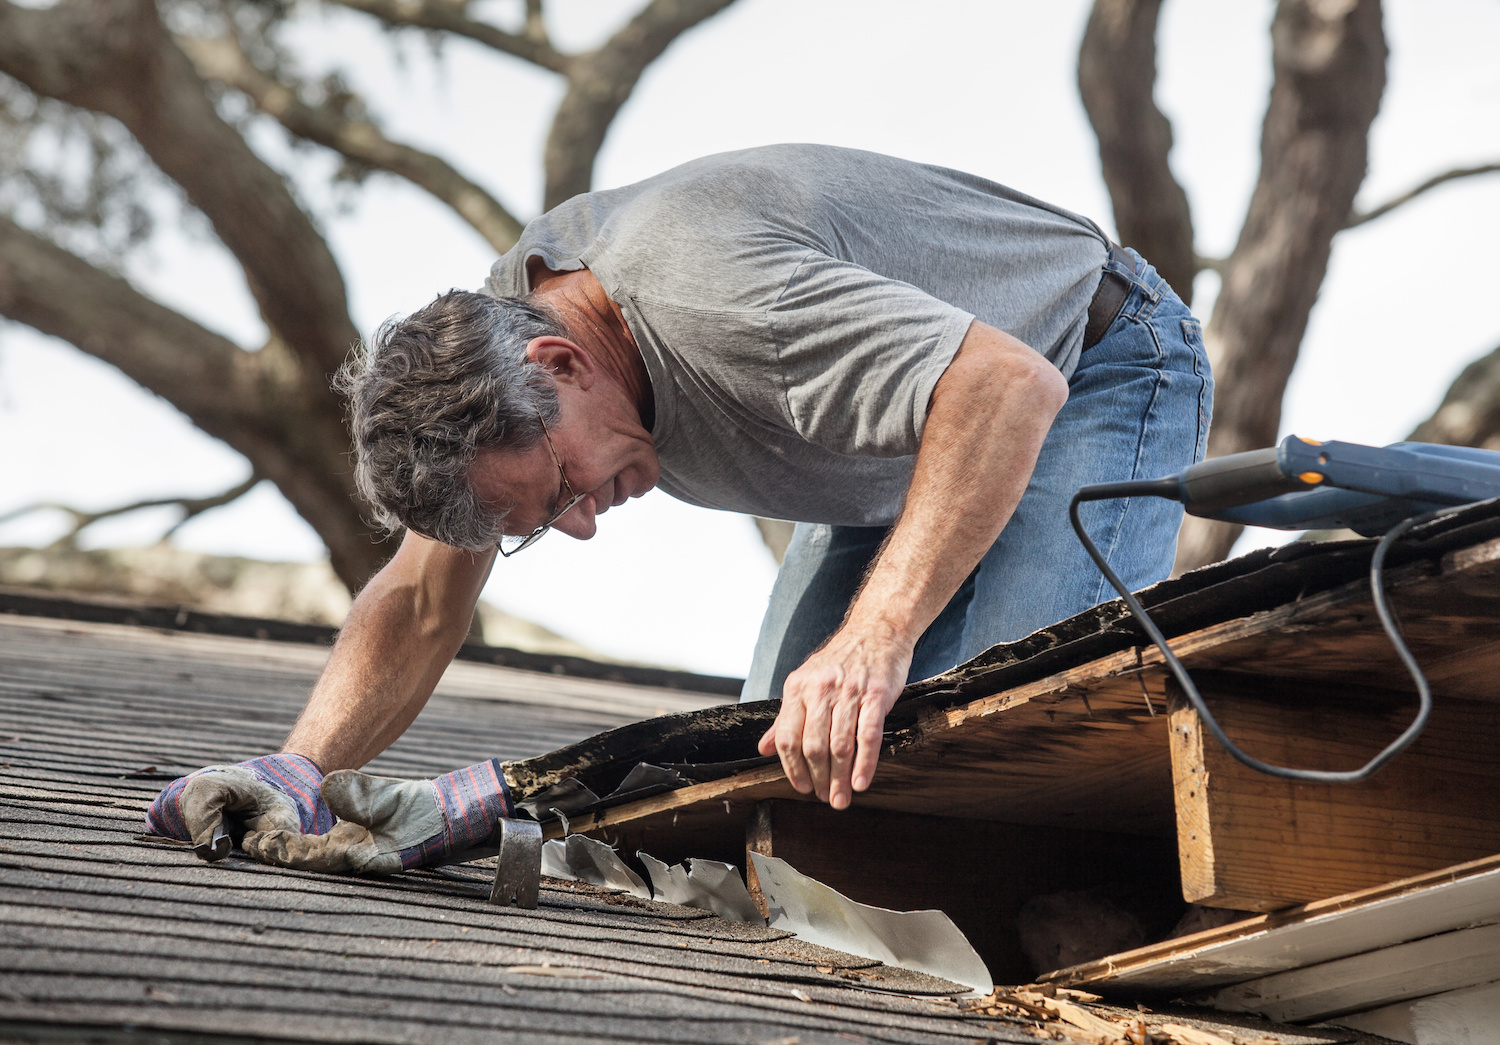




You know the kind of storm. The rain isn’t falling straight down, it’s coming in sideways, rattling the windows and pushing under anything that’s loose. Next morning the yard’s a mess, the gutters are full of grit, and a brown ring shows up on the ceiling over a hallway or a bedroom corner. A lot of homeowners assume a “roof leak” means a missing shingle. After a Gulf blow, it’s usually smaller and meaner than that.
Wind-driven rain finds the details, not the field shingles. It rides up a slope, runs sideways across flashing, and gets forced into seams that never see water in a normal shower. In Texas City, TX we see the same spots over and over: valleys, pipe boots, ridge caps, and the places where brick, siding, and rooflines meet. If you want to stop it for good, you have to start by finding the exact entry point, then document it cleanly for storm damage and insurance. (If you want the bigger picture on storm prep and weak points, read protecting roofs against hurricane damage in Texas City.)
Step flashing at walls and chimneys is where sideways rain sneaks in
Any time a roof dies into a wall, the shingles are not the waterproofing. The flashing is. On a proper setup you have step flashing, one piece per shingle course, laced into the shingles and tucked behind the wall covering. Typical step flashing is 26-gauge galvanized steel, sometimes aluminum. The pieces are small, about 8 in. by 8 in., and that size matters because each step is supposed to move water back onto the shingle below.
Wind-driven rain shows you what’s wrong fast. We find continuous “L-flashing” used instead of step flashing, nails driven through the horizontal leg, or siding installed tight to the roof so the flashing can’t drain. On brick chimneys, the weak link is often the counterflashing cut into a reglet, that saw cut should be sealed and tight. If the counterflashing is just surface-caulked to brick, UV cooks it and a storm finishes the job.
Inside, the stain can show up 6 ft. away from the wall because water runs along the top of drywall. Outside, we look for lifted siding, cracked sealant, and exposed flashing corners at the kickout.
Valleys take the highest volume, and small defects turn into ceiling stains
A valley is a funnel. Two roof planes dump into one line, so even a small roof can push a lot of water there in a hard rain. After a Gulf storm, the problem is not just volume, it’s direction. Wind shoves water across the valley line and up under shingle edges.
There are a few common valley builds. Closed-cut valleys rely on shingles and underlayment to do the work. Open metal valleys use a metal liner, usually galvanized steel. Either way, the underlayment details decide if the valley survives.
We see failures from:
- Nails too close to the valley centerline, water hits a fastener head and follows it.
- Debris dams, granules and leaves hold water and force it sideways.
- Underlayment that was lapped wrong, so water can run under a seam.
A checkable detail we look for is ice and water shield in the valley, typically a self-adhered membrane rolled out centered in the valley before the felt or synthetic goes down. On steep roofs, we also look for “water diverter” effects where a shingle edge cuts across flow and pushes water sideways.
If you’ve got a stain after a storm and the roof has a valley above it, that’s one of the first lines we walk.
Pipe boots and roof penetrations fail from UV and movement, not just age
Every pipe, vent, or mast is a hole in the roof system. The shingle field can be perfect and you still leak at a penetration. The classic is the plumbing vent boot, a flashing base with a rubber collar. In our heat, that rubber takes a beating. UV exposure dries it out, the collar splits, and wind-driven rain gets pushed right into the crack. (Heat and humidity are a big part of why these collars fail, handling humidity how Texas City’s climate affects your roof goes deeper on that.)
We check the boot for a split at the uphill side first. That’s where water hits. We also check for a boot that’s been tarred, because mastic over a failed collar usually buys time, then fails again once it gets brittle. If the vent is cast iron, the outside diameter is different than PVC and boots get stretched or cut to fit. That can leave a loose seal.
Fasteners matter here. A boot flange should be nailed in the correct pattern and covered by shingle courses, not face-nailed and left exposed. Exposed nails rely on sealant, and sealant is not a long-term roof component.
If a leak shows up around a bathroom or laundry wall, and there’s a vent stack in that bay, we’ll start there before we start tearing into shingles.
Ridge caps and hip lines leak when the cap bond breaks in high wind
Ridge and hip caps sit right in the wind. They’re also the last layer, so when they lift, the roof opens up at the top where pressure changes are strongest. After a storm, homeowners often see a leak and assume it’s low on the roof. We’ve traced plenty of interior stains back to a ridge issue because water gets under the cap, hits the ridge vent slot, and runs down the decking.
A few specifics we look for:
- Ridge cap nails that are too short. If the cap is over a ridge vent, we need longer nails so we’re biting solid wood, not just plastic baffles.
- Cracked or de-bonded cap shingles. The seal strip can let go after repeated heat cycles, then wind gets under it.
- Ridge vent end plugs missing or crushed. Those ends are where wind-driven rain gets a direct shot.
On a cut ridge vent, the slot width matters. Too wide and you’re asking for trouble in a sideways rain. Too narrow and you choke ventilation. We also check that the ridge vent is the right style for the roof pitch. (If you want the why behind that, why roof ventilation matters for homes in Texas City lays it out.)
If you see cap pieces cocked up, loose, or missing granules in a line at the ridge, that’s not cosmetic. That’s a water path.
Brick-to-siding transitions and kickout flashing dump water behind walls
One of the sneakiest leaks is not really “through the roof,” it’s behind the wall where the roof meets the wall. Think of a roof slope that runs into a brick wall, then turns into siding. Water comes down that wall line fast. If the bottom doesn’t have a kickout flashing, the flow shoots behind the siding and into the sheathing.
Kickout flashing is a simple piece of metal at the bottom of the step flashing run that kicks water into the gutter. Without it, you get rot at the corner, swollen trim, and stains that show up at baseboards or window headers. Wind-driven rain makes it worse because the water doesn’t just run down, it gets pushed sideways into that joint.
We look for:
- A visible kickout at the eave line, not just caulk.
- Step flashing that extends behind the wall covering.
- Housewrap or felt lapped correctly over the flashing, so drainage stays outboard.
On brick, we also watch the weep holes. Mortar droppings can block them and hold water. That trapped moisture shows up as efflorescence and can work its way into adjacent framing.
These are detail repairs, not big dramatic tear-offs, but they stop the type of leak that keeps coming back.
What we check right after the storm, before the sun bakes the evidence away
Timing matters. Within 24 to 72 hours after a storm, you can still see what moved. After a week of Gulf sun, shingles relax back down, seal strips re-bond in spots, and the trail goes cold.
Our post-storm roof check is methodical. We start inside with the homeowner. We note the room, the ceiling location, and whether it’s a ring stain, an active drip, or bubbling paint. We use a moisture meter on drywall in a grid to see direction of travel, not just the wet spot.
Outside, we photograph every slope and every detail line. Then we get specific:
- Flashing edges: lifted corners, missing sealant at reglets, exposed fastener heads.
- Valleys: debris lines, scoured granules, nail pops within about 6 in. of center.
- Penetrations: split collars, loose storm collars, cracked plastic vent caps.
- Ridge and hips: cap lift, broken adhesive bond, ridge vent ends.
We also check gutters and downspouts for shingle granules and metal fragments. That tells us where the wind was chewing. (If you’re dealing with overflow and grit after a blow, best ways to clean gutters safely is worth a read.)
If there’s a tree limb hit, we document impact points and the path. Impact is different than wear, and the paperwork needs to match what happened.
Documentation for storm damage and insurance: photos, notes, and clean timelines
Insurance is paperwork and consistency. The roof still has to be fixed right, but the claim lives or dies on documentation. We keep it simple and we keep it tied to the storm date. (If you want a broader checklist, what to do after storm damage covers the basics.)
Here’s what we gather and how we label it:
Photos that adjusters can actually use
We shoot wide, then close. One photo shows the whole plane. Next shows the detail. Final shows the defect, like a lifted step flashing corner or a split pipe boot collar. We include a tape measure when size matters, like a puncture or a displaced ridge cap.
Notes tied to locations
“Back right slope, valley above guest bath” is better than “valley damage.” We sketch the roof if needed. We also note roof type and details, like architectural asphalt shingles, ridge vent present, and metal drip edge at eaves.
A timeline that makes sense
Date of storm, date of first interior sign, date of inspection. If a tarp is needed, we note when it went on and what it covers. Temporary dry-in is part of preventing further damage, and it should be documented. (If you need to dry it in fast, how to tarp a roof leak walks through it.)
If an adjuster wants to see the leak path, we can show how a ridge opening feeds the vent slot, or how a wall line without a kickout dumps water behind siding. That’s the difference between “mystery leak” and a clear storm-related failure.
Key Takeaways
- Wind-driven rain usually gets in at details, step flashing, valleys, pipe boots, ridge caps, and wall transitions, not the middle of the shingle field.
- Step flashing should be one piece per course (often 26-gauge), and brick chimneys need proper counterflashing set into a reglet, not just surface caulk.
- Valleys fail from nail placement, debris dams, and underlayment laps, a self-adhered membrane in the valley is a common protection.
- Pipe boot collars split from UV and movement, and face-nailed flanges with exposed fasteners are repeat leak points.
- Inspect within 24 to 72 hours if you can, heat and sun can hide lifted shingles and re-bond seal strips.
- Insurance documentation works best with wide-to-close photos, location-based notes, and a clean timeline tied to the storm date.
Conclusion
If you’re dealing with a wind driven rain roof leak Texas City TX homeowners see after a Gulf storm, don’t get stuck chasing stains. The stain is the last stop, not the first. The fix starts with the details that take water sideways and under pressure, and it ends with repairs that are built like they should have been the first time.
If you’ve got active dripping, get buckets down and keep the area clear, then let us look at it while the evidence is still fresh. We’ll walk the roof, check the usual failure points, and document what we find in a way that holds up for storm damage and insurance. Then we can talk through the right repair or replacement plan for your roof, based on what the storm actually did.
External references that back up the storm and roof-detail side of this:
- NOAA National Hurricane Center: National Hurricane Center
- FEMA: After a Hurricane
- NRCA: National Roofing Contractors Association
- GAF: Roofing