As a homeowner, you’ve likely had at least one run-in with wind damage to your roof. No, wind damage does not happen every day. But when it does happen, it can be the difference between a small repair job and a long-term headache.
Your roof is essential in protecting you and your home, but it’s often one of the #1 things homeowners neglect. To be fair, damage to your roof is much harder to spot than damage on your siding, windows, or driveway because you don’t always have the best view of your entire roof. Unfortunately, when you don’t maintain your roof because it’s “out of sight, out of mind,” you risk causing long-term damage to your roof and needing a full replacement sooner.
Wind is one of the most common causes of slight damage to your roof. A lot of people don’t realize that when wind damage goes unfixed, even if it’s just a little damage, it accumulates. Making that one blown-off shingle turns into a full-on leak into your home or worse. We want you to be fully prepared on how to detect wind damage and take action as soon as possible.
When Does Wind Damage Happen?
Wind damage to your roof typically happens between wind speeds of 43-57 MPH, where wind can pick up objects and cause them to hit your roof. The trick is, wind speed doesn’t always equate to wind damage. Instead, it’s the wind velocity that causes wind damage, and this usually comes with strong thunderstorms or downbursts.
That’s why it’s extremely important to detect wind damage right away. If a second storm rolls through before you fix the initial wind damage, then the damage will begin to accumulate. Often, the wind is accompanied by rain, thunder, or hail. When your roof is hit with wind AND heavy rain, that can be the one-two punch that causes damage. Before we jump into how you can detect wind damage, let’s look at the different types so that you know what to look for!
Types of Wind Damage
Damage from Debris
Your roof isn’t the only thing that the wind can affect. Debris damage is especially common for homeowners that live in a wooded area or have lots of trees surrounding their home. Once wind hits about 40 MPH, tree branches can start to break off and blow directly at your home. When tree branches, rocks, and other debris from the ground get blown at your roof at over 40 MPH, you can expect to see ripped-off shingles or even a layer of plywood missing from your roof. Other types of damage from debris include dented, lifted, and curled shingles.
High-Velocity Wind Damage
Although it might not be as common, when wind exceeds 60 MPH, homeowners may experience damage to their roof from sheer wind speed. Most asphalt shingles are graded for up to 90 MPH winds, but that doesn’t always hold up. The result of high-velocity wind is usually lifted or completely blown off shingles.
Sustained Wind Damage
This type of damage is the result of previous wind damage going unfixed. If your roof has taken a beating from the wind in multiple storms, you can experience leaking on the inside of your home or more severe structural damage. The good news is that you can prevent this type of damage by following the steps below on detecting and repairing your damaged roof.
Factors That Play Into Damage
As we mentioned before, the average asphalt shingle is graded to withstand up to 90 MPH winds, but that doesn’t mean they always will for the lifetime of your roof. Most shingle manufacturers will offer a limited warranty that covers wind resistance, meaning if your shingles blow off under a certain wind speed, then it will be covered under warranty. Unfortunately, the same factors that void that warranty are some of the most common causes of pre-mature wind damage. Those factors include:
An Aging Roof – As your roof gets older, the structural integrity begins to degrade. For example, a roof that is 15 years old will be more susceptible to wind damage than a roof that was installed in the last five years. Just as a piece of tape loses its stickiness over time, your underlayment and shingles are more prone to blowing off over time.
Faulty Installation of the Shingles – If your shingles were installed improperly, wind and debris will have an easier time blowing them off. Four nails are required per 3-tab shingle in most states, and some higher wind areas require five nails. If you or your roofing contractor didn’t use the proper amount of nails or made mistakes/cut corners on the installation, it will cause problems in the long run. That’s why we stress the importance of working with a quality contractor or being extremely diligent when repairing your roof.
Accumulated Wind Damage – Both homeowners insurance and manufacturer warranties can be voided if it’s found that previous, unfixed damage led to new damage. If strong winds have come through your area and you don’t check your roof for damage, chances are the signs of damage will be obvious when the next storm rolls through.
How to Detect Wind Damage
The first step in detecting wind damage is to get a good view of your roof. Although that may seem obvious to some, many homeowners will go months without even thinking about the health of their roof. If you’re comfortable with heights, you can get a ladder and position it near your house to be able to look at your entire roof. You should only climb onto your roof if you have experience in roofing or feel comfortable with heights and balancing on the incline of your roof.
Once you have a solid view of your shingles, look for some of the signs of wind damage:
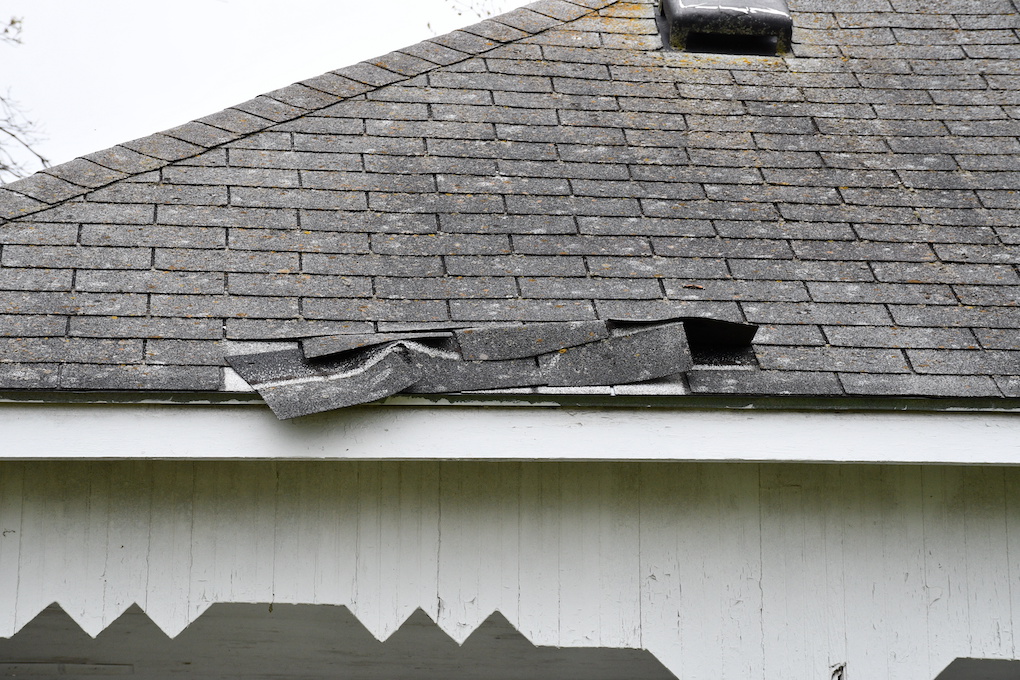
- Lifted Shingles – Any shingle that isn’t laying flush and in line with the rest of your roof
- Curled Shingles – They will look like a rolled-up shingle, usually caused by impact or severe wind
- Cracked Shingles – Cracks can be hard to detect, but they can lead to leaks in the future if they aren’t fixed. A crack is most often caused by old age, impact from blowing debris, hail, or some combination of those three.
- Denting or Holes in the Roof
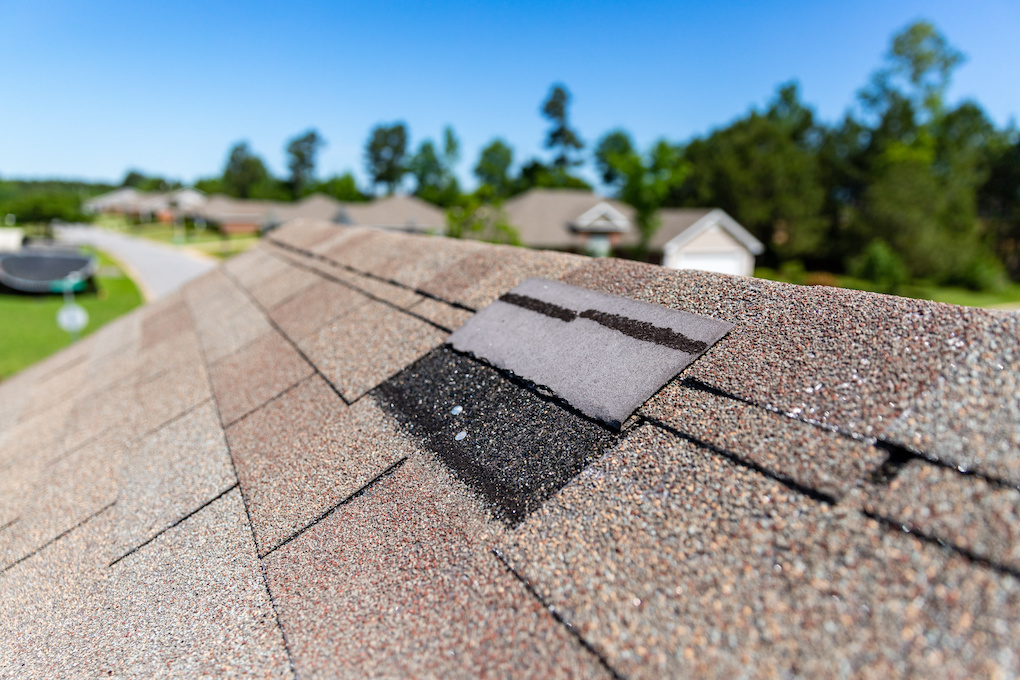
- Completely Missing Shingles – Missing shingles are easier to spot because there will be a dark spot where your shingle used to be. That darkness is the underlayment of your roof that sits beneath your shingles.
- Damaged or Clogged Gutters: This isn’t direct damage to your roof, but if it isn’t repaired, the improper flow of water can pool up and cause damage such as leaks or rot.
How to Repair Wind Damage in 3 steps
The most important thing when it comes to roof repairs is safety. If you’re choosing to repair your roof on your own, ensure you have the proper safety equipment and experience to complete the job without injury. The most common type of wind damage is missing or damaged shingles, so we’ll go over how to fix them in three easy steps.
Before you begin, make sure you have the proper tools and materials.
- Hammer
- Pry Bar
- Galvanized Roofing Nails
- Ladder
- Matching Shingles
- Safety Equipment
Step 1: Set your ladder up and safely make your way onto the roof
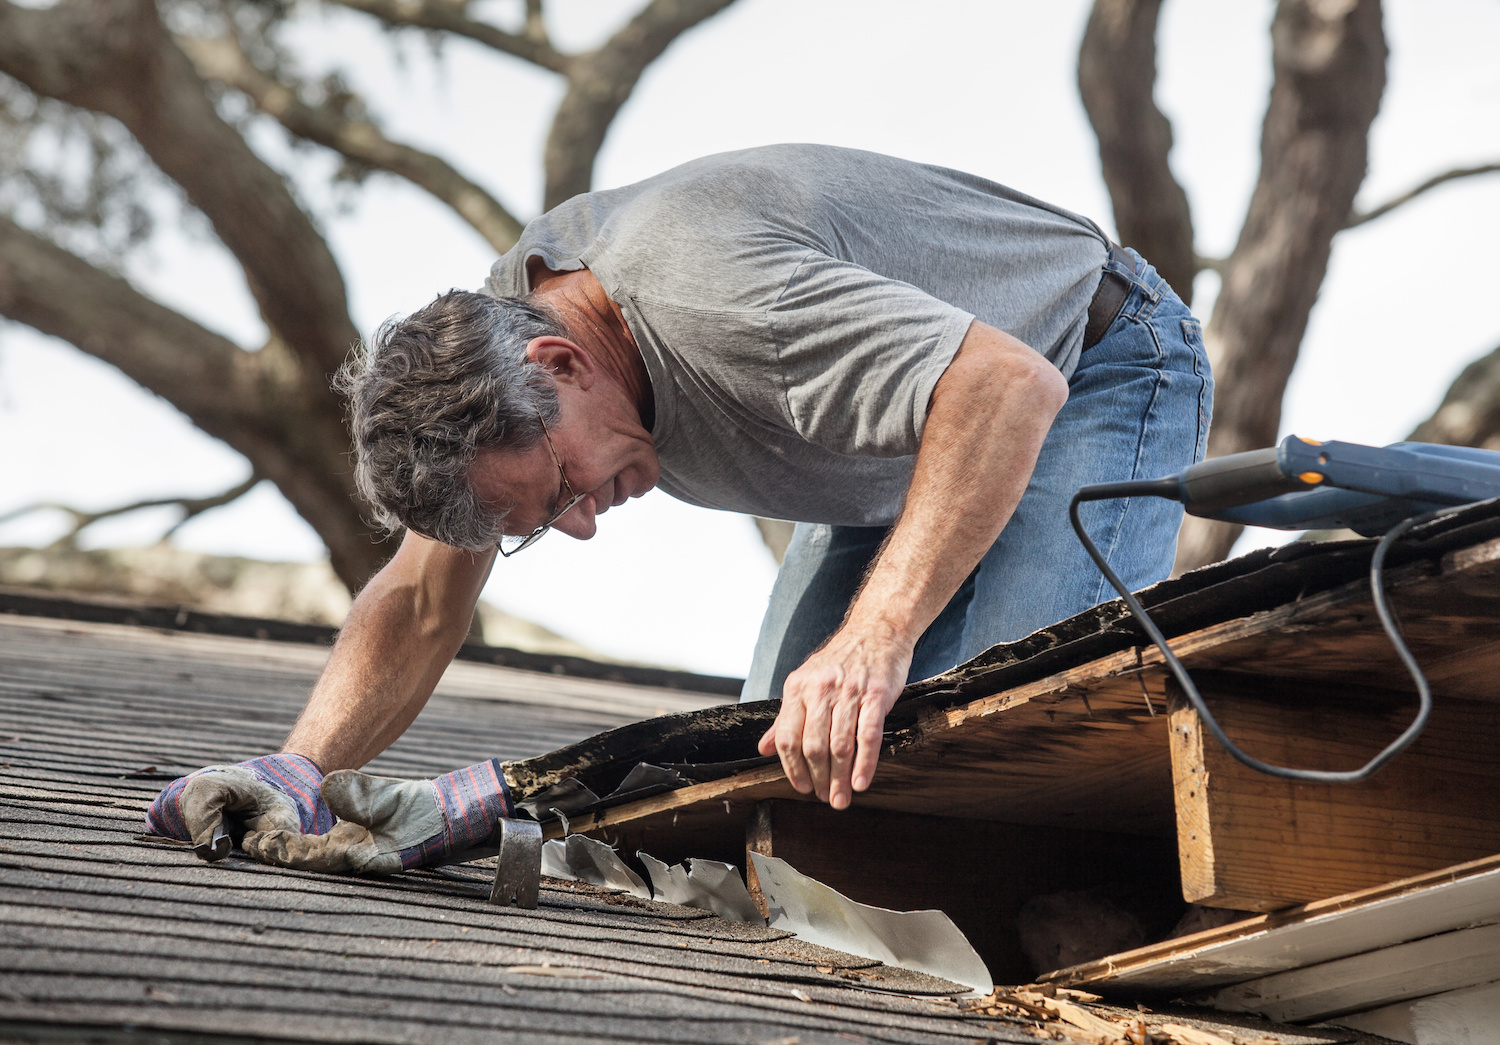
Step 2: Remove any debris in the area and pry up the old nails
Even though the shingle is missing or damaged, the nails are likely still in place. It’s important to remove those old nails because they can puncture holes in your new shingle strip if they’re left in place
Step 3: Slide your new 3-tab shingle into place
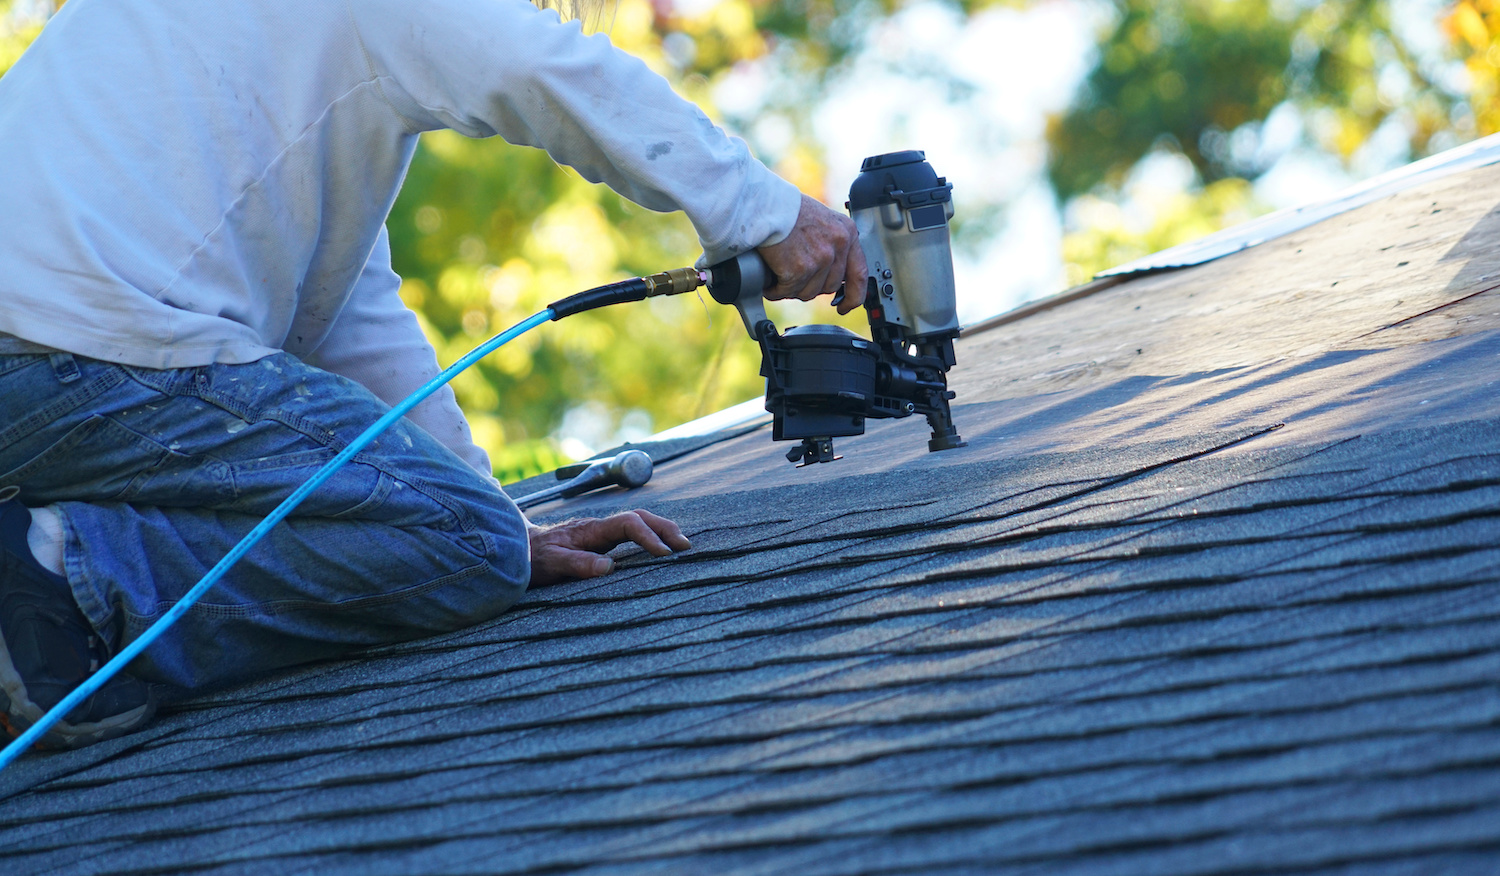
Your new shingle strip will go underneath the above row of shingles. Once they are in place, you can hammer four galvanized roofing nails into the nail strip of the 3-tab shingle. Make sure to evenly space the nails to ensure your shingles stay in place.
Are you feeling unsure about being able to detect wind damage or climb up on your roof to fix it yourself? Contact the team at Eagle Eye Roofing! If you have even the slightest suspicion of wind damage to your roof, don’t risk it. We happily provide free estimates to homeowners along with the highest quality customer service and craftsmanship.


